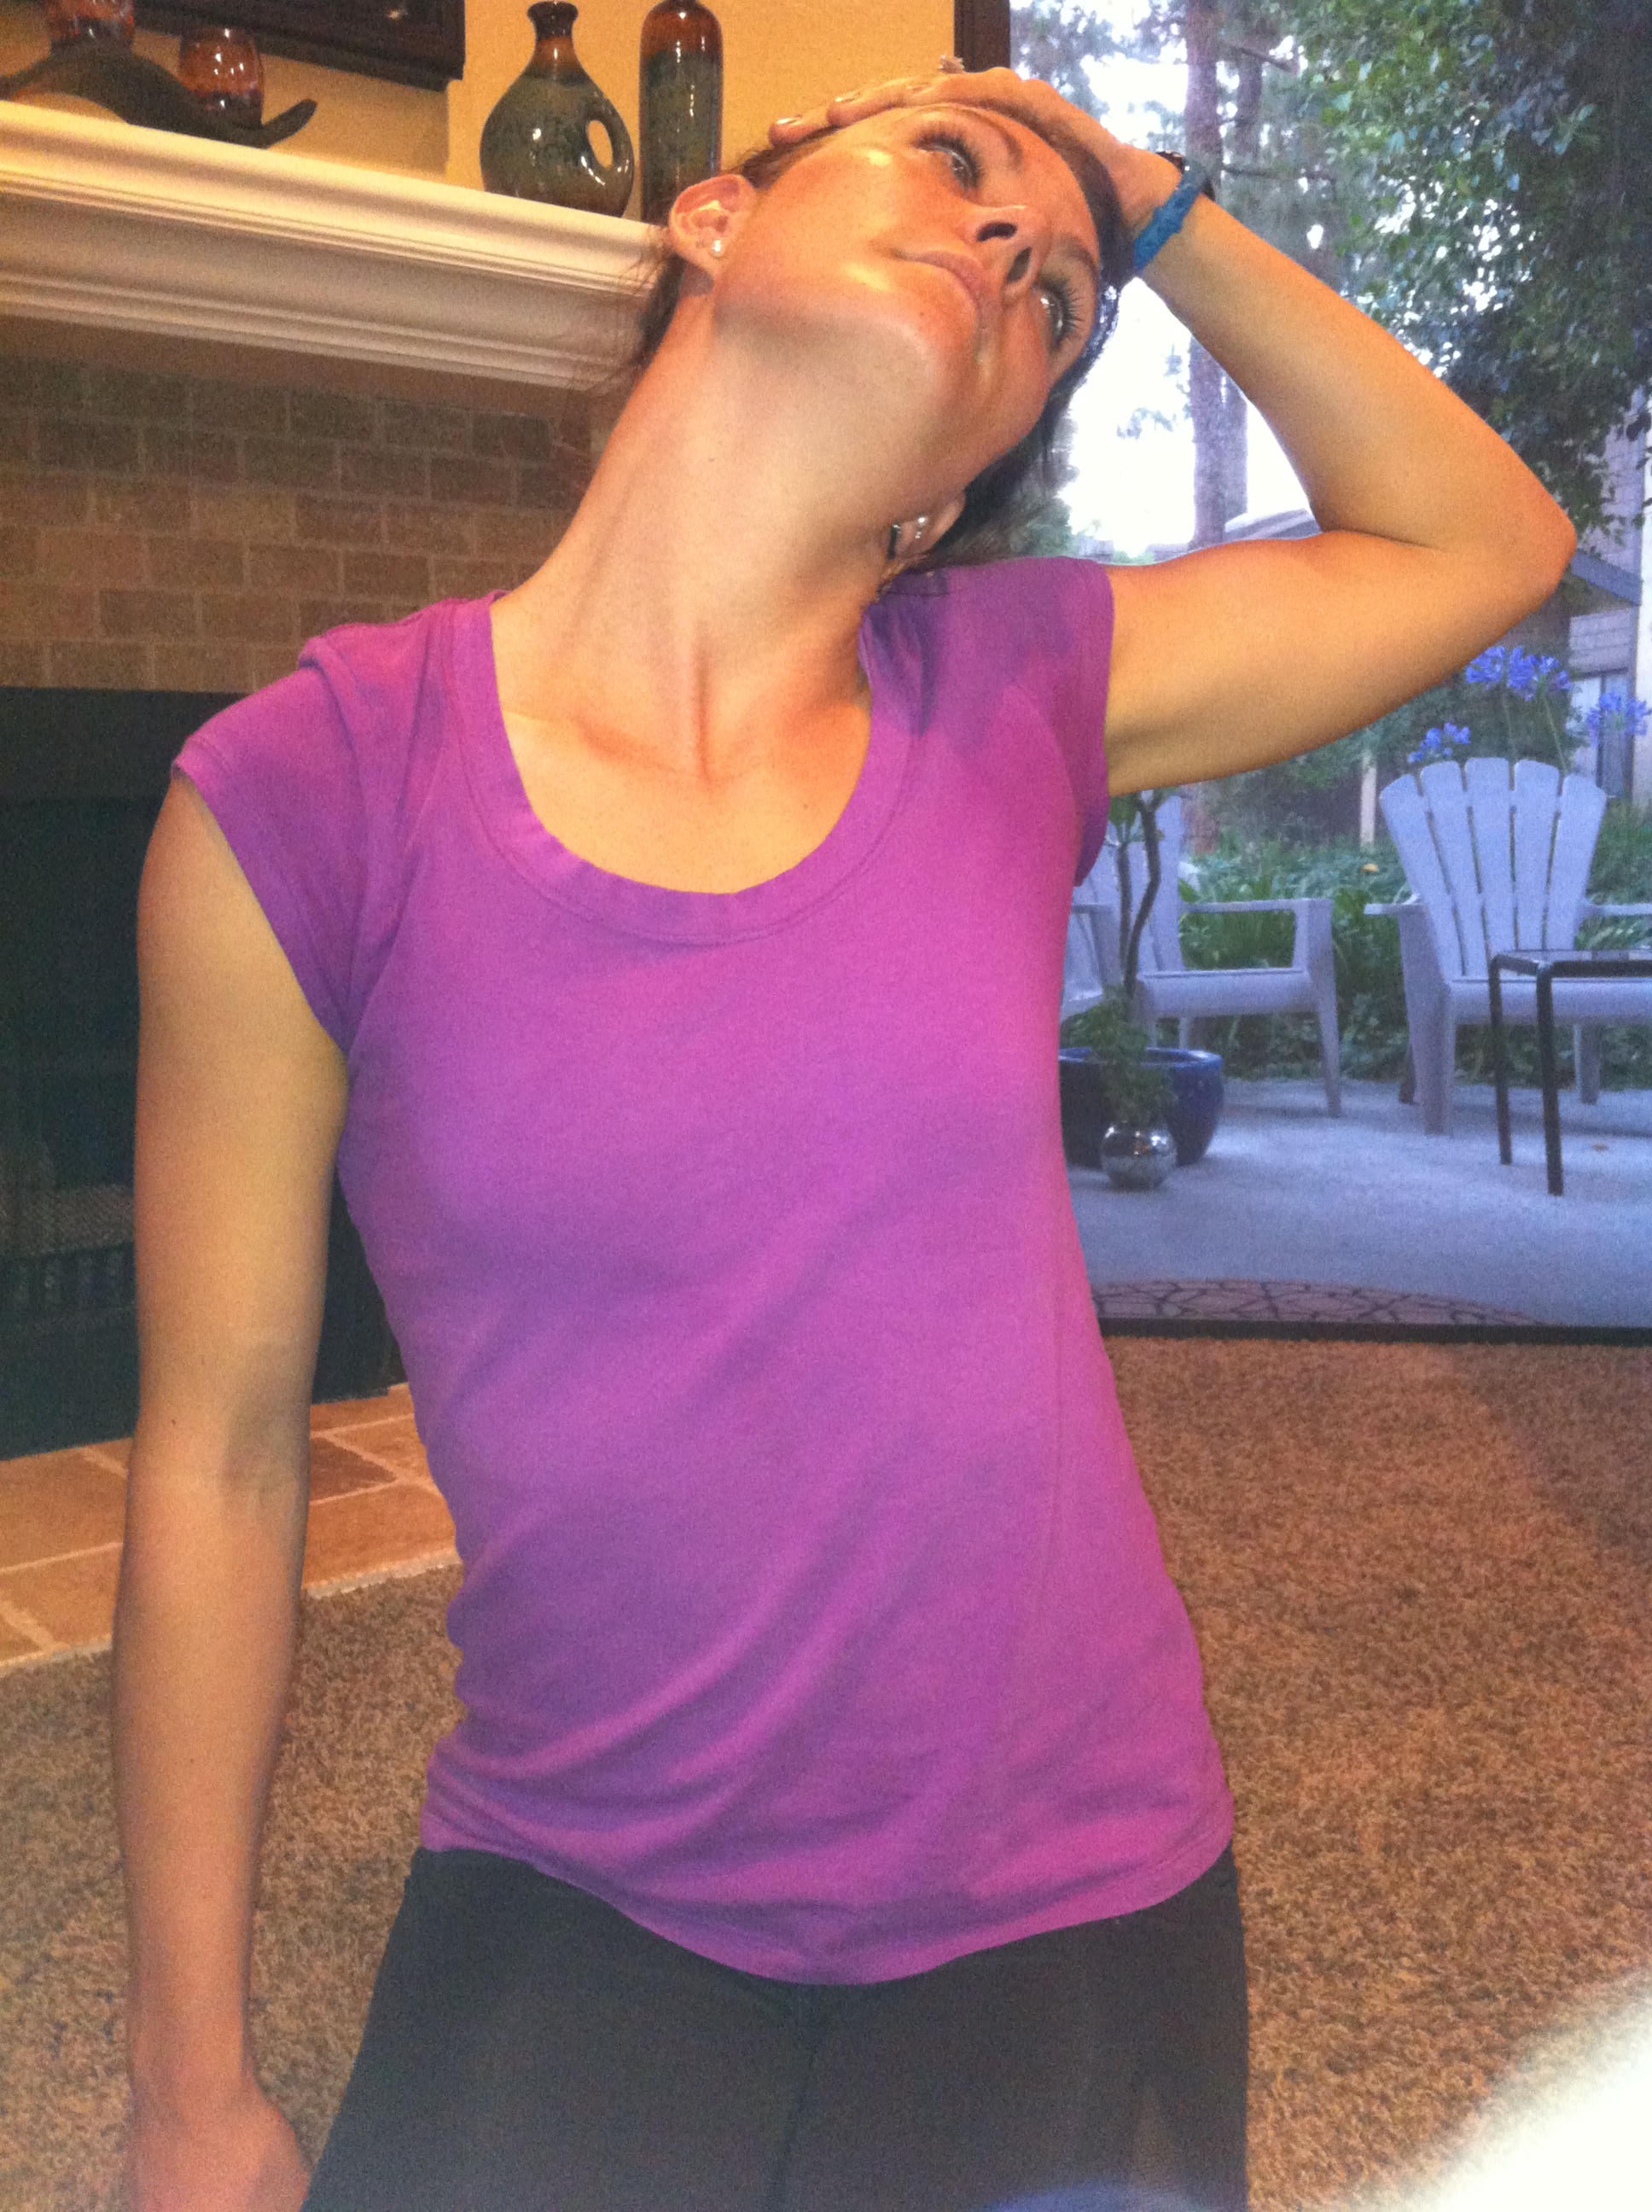
If you’ve taken exercise classes or watched exercise videos, you may have heard people tell you to “suck in your core to protect your spine.” Another phrase often said in lifting when referring to bracing is, “push out to activate your core.” These terms can be confusing. The goal of core bracing is to allow your body to function efficiently and powerfully, but only core bracing correctly allows this to occur.
The first thing to understand is what muscles are included in the core. The core includes more than just the abs (transverse abdominus, internal oblique and external oblique). Also included are the gluteus maximus, diaphragm, pelvic floor muscles, erector spinae, latissimus dorsi and trapezius (middle and lower especially) and I would argue the deep neck flexors. If these muscles are all activated at once, the entire spine is protected.
Suck in Vs. Brace
The “suck in” method (aka hollowing or the draw in method) is often taught in pilates and various other workouts, viewed to “protect the spine.” However, the suck in method reduces the size of the base, activating only the transverse abdominus. One muscle is not meant to support the spine by itself. Stability for moving loads cannot come from the draw-in technique. Mechanically, it is almost impossible for contraction and depression of the ribs, making it difficult to breathe. Drawing in compresses the spine and increases the possibility of instability.
Bracing (sometimes referred to as “pushing out”) should be viewed more as tightening or activating the entire core at once. To brace means to give support, to make stronger or firmer. It can be viewed as guy wires, enhancing stability. The muscles activated are the external oblique, internal oblique, transverse abdominus, rectus abdominus, diaphragm, multifidus, pelvic floor and deep neck flexors.
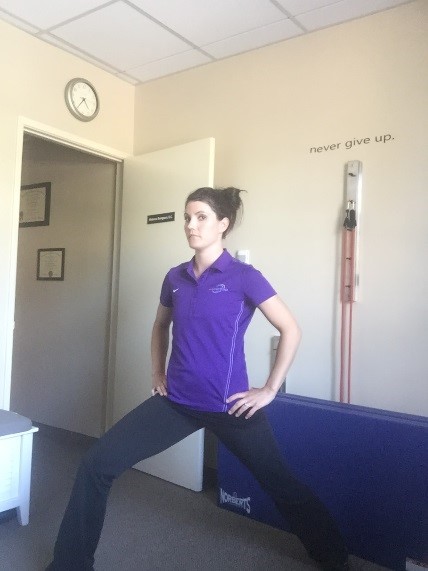
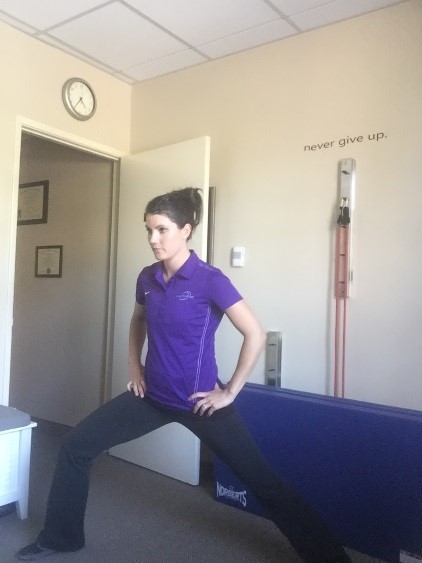
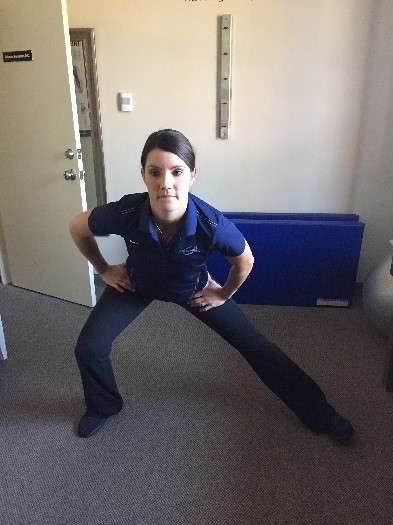
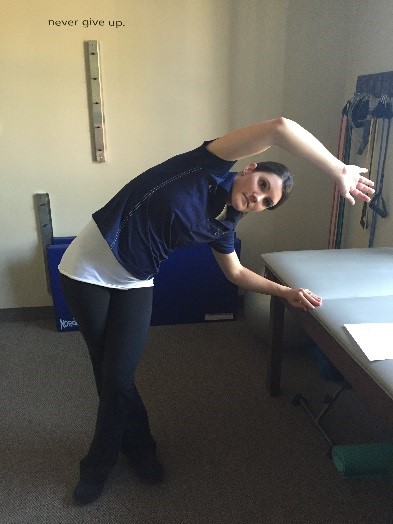
How to Brace:
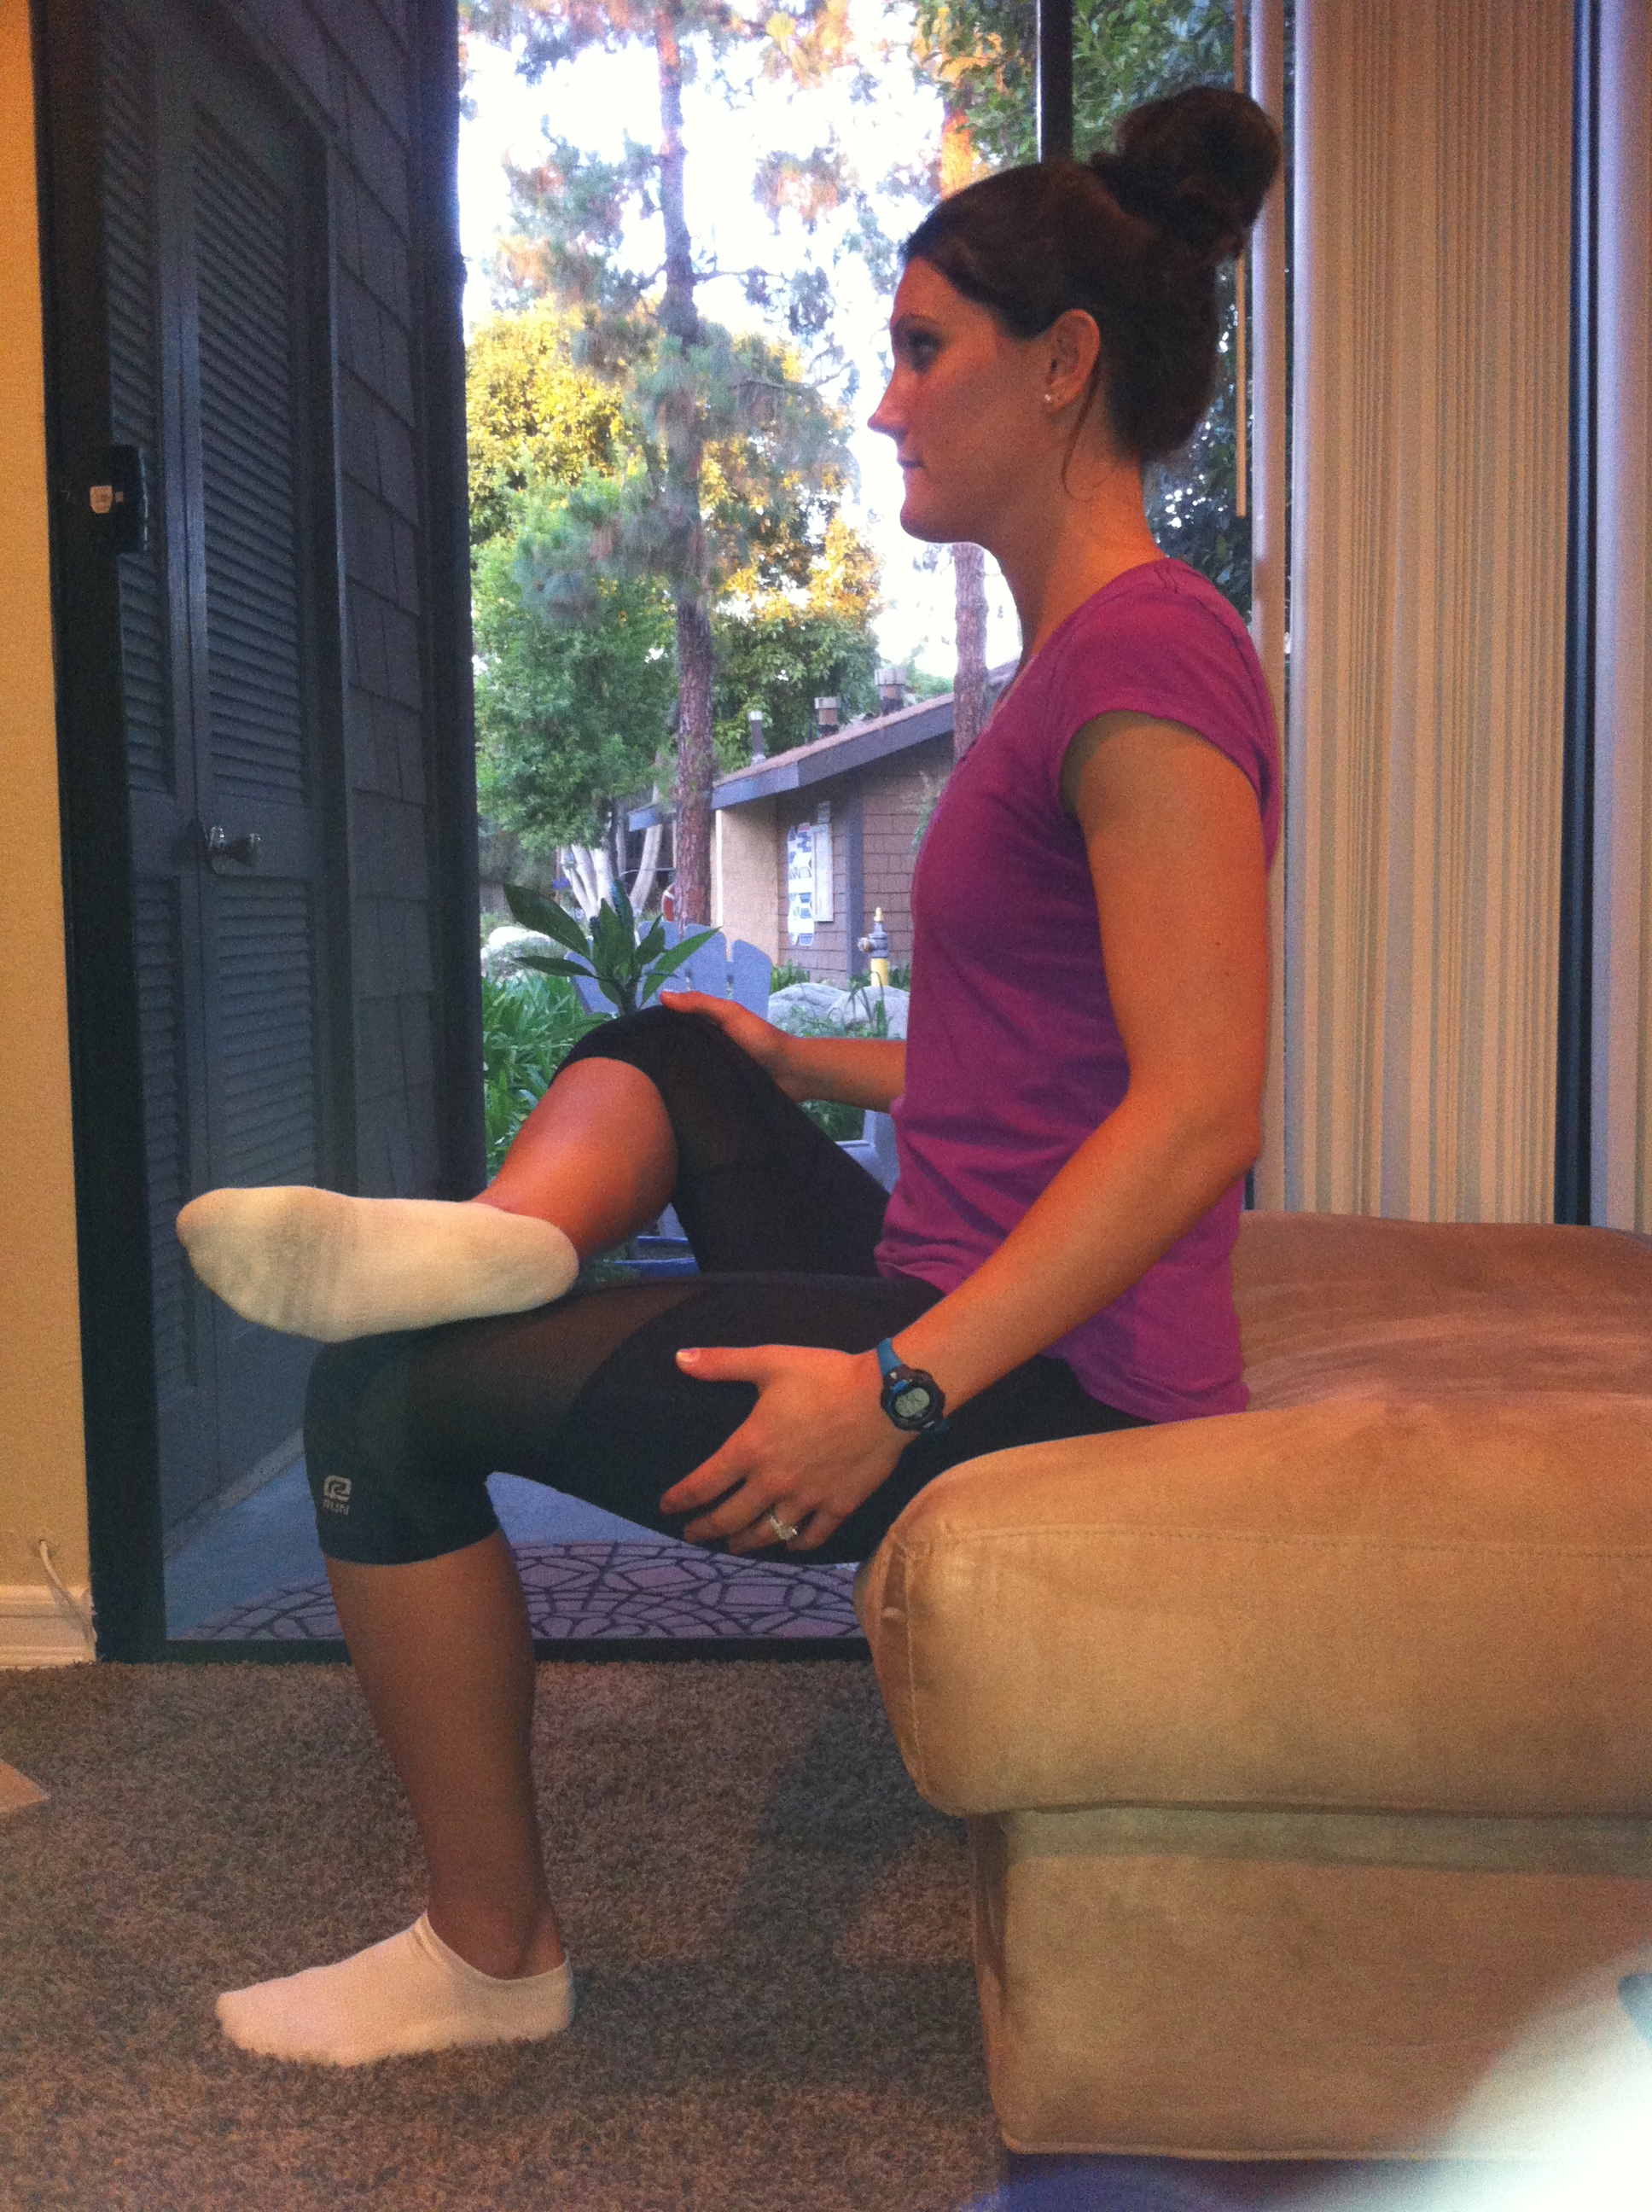
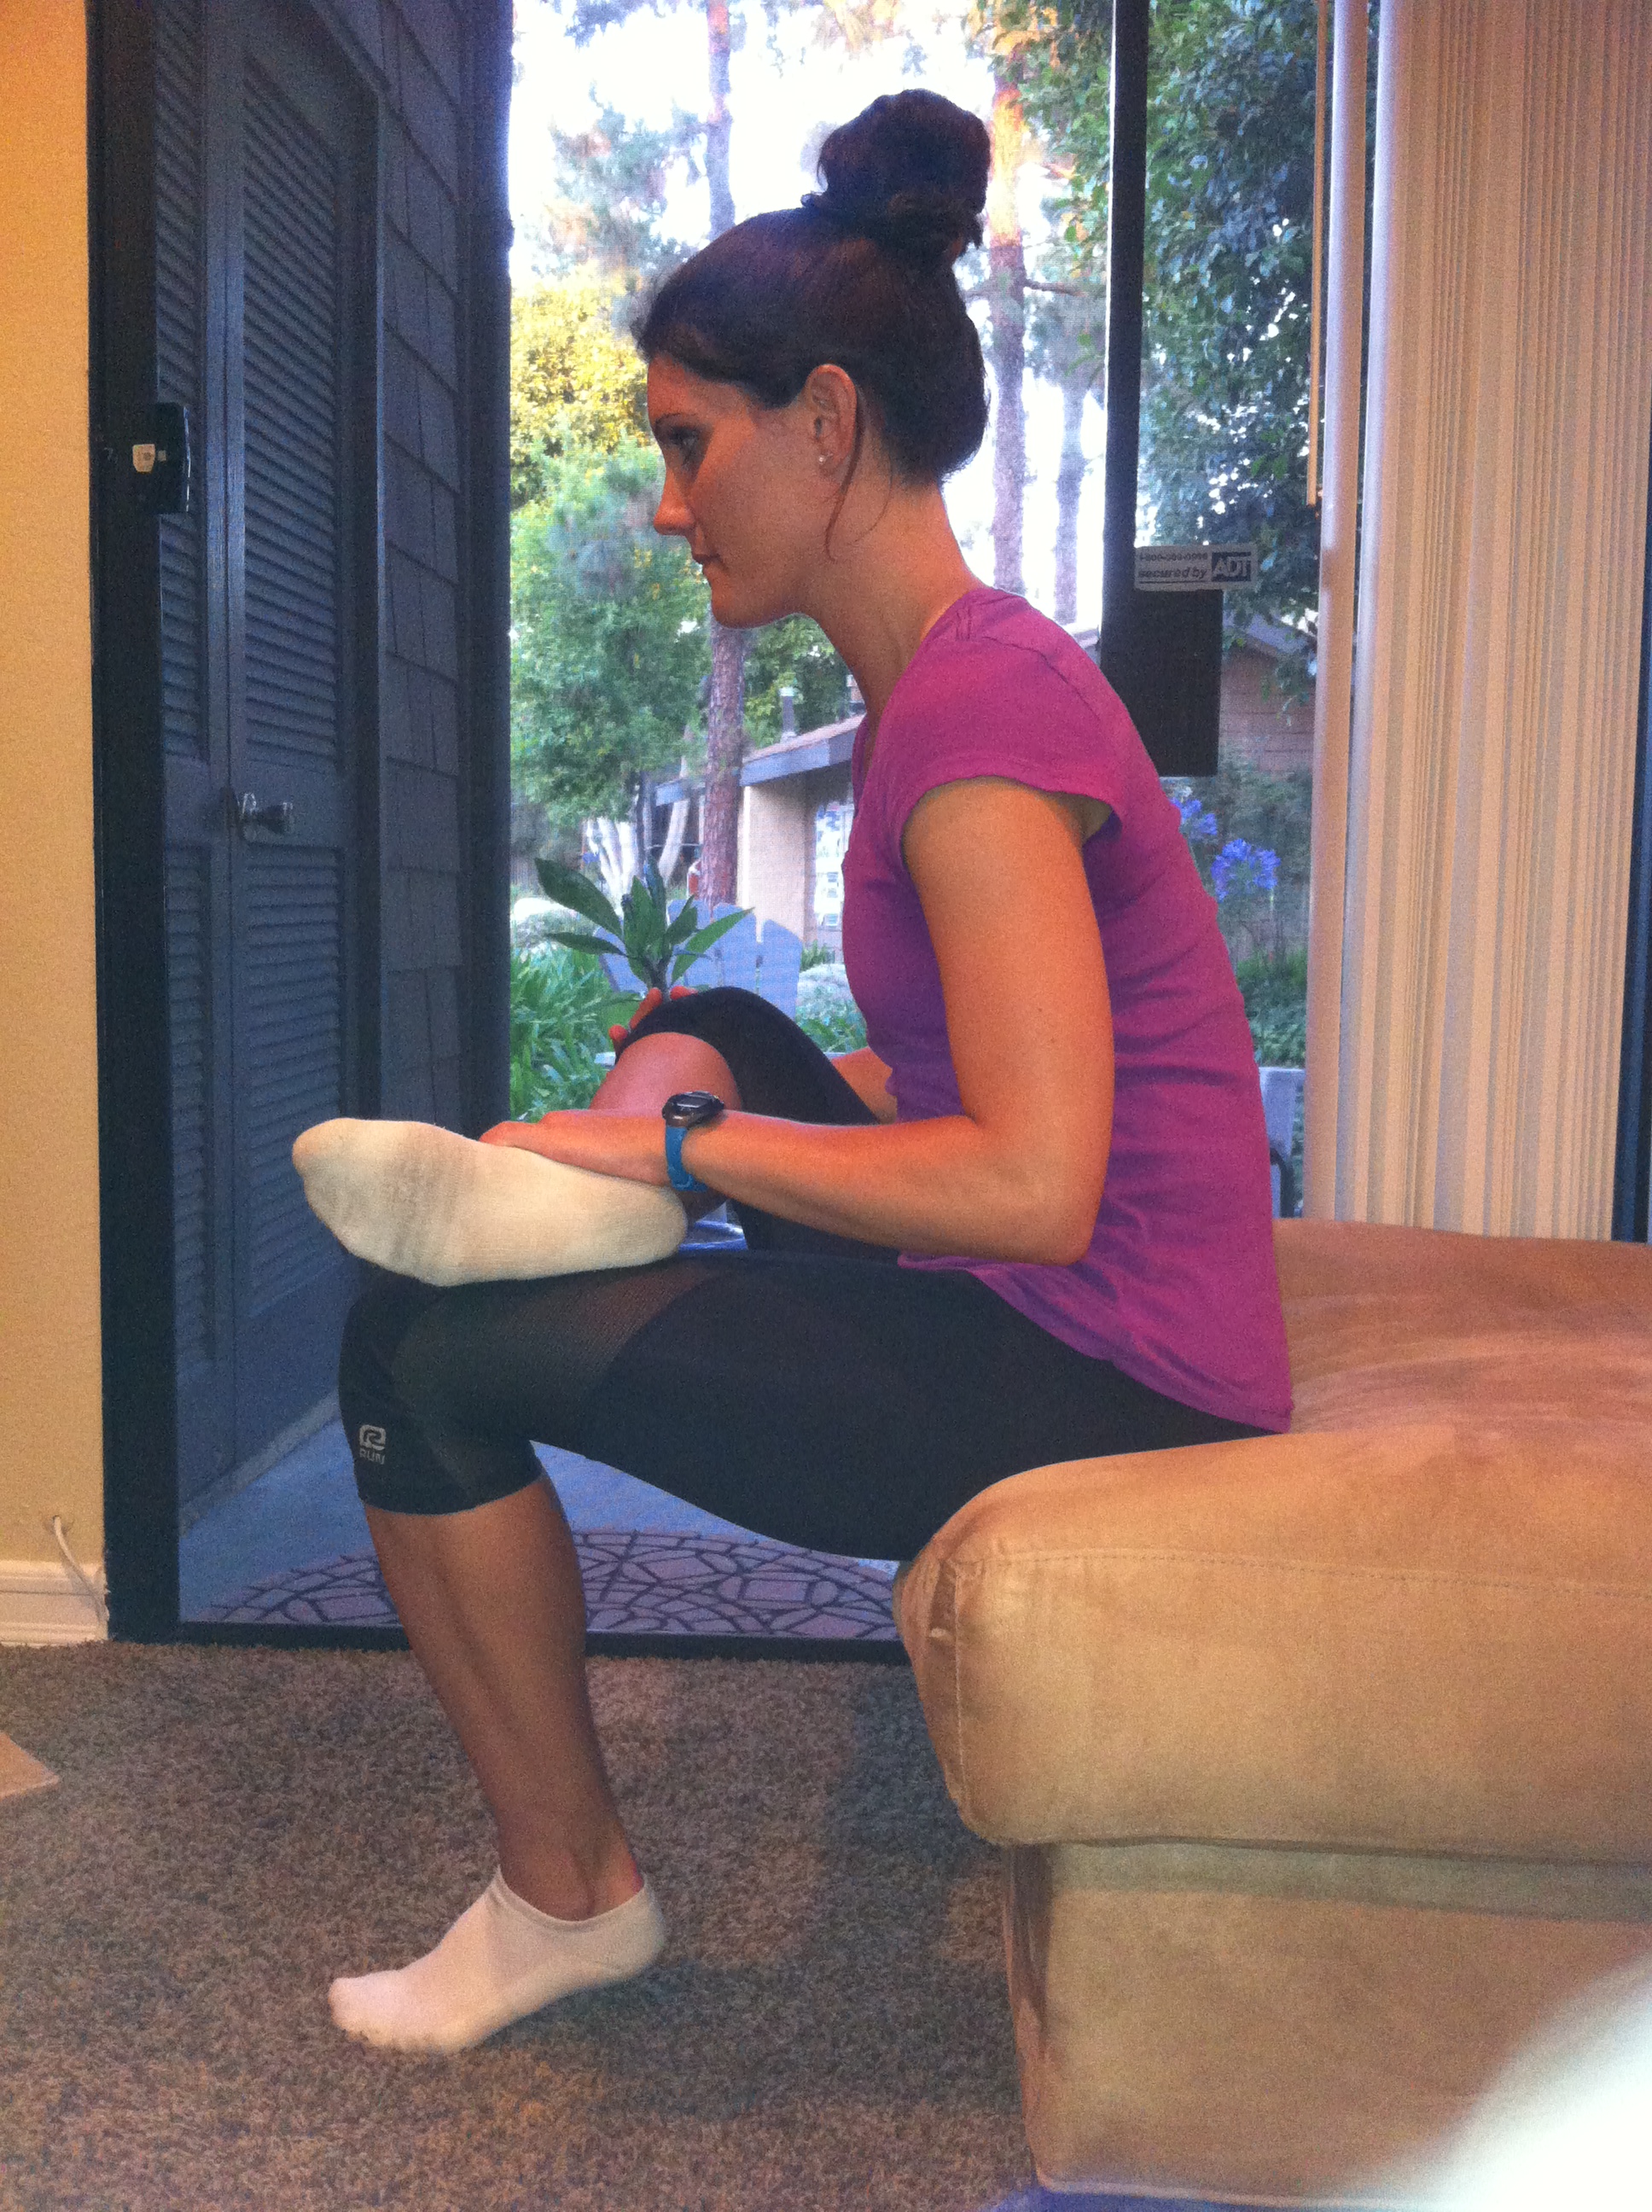
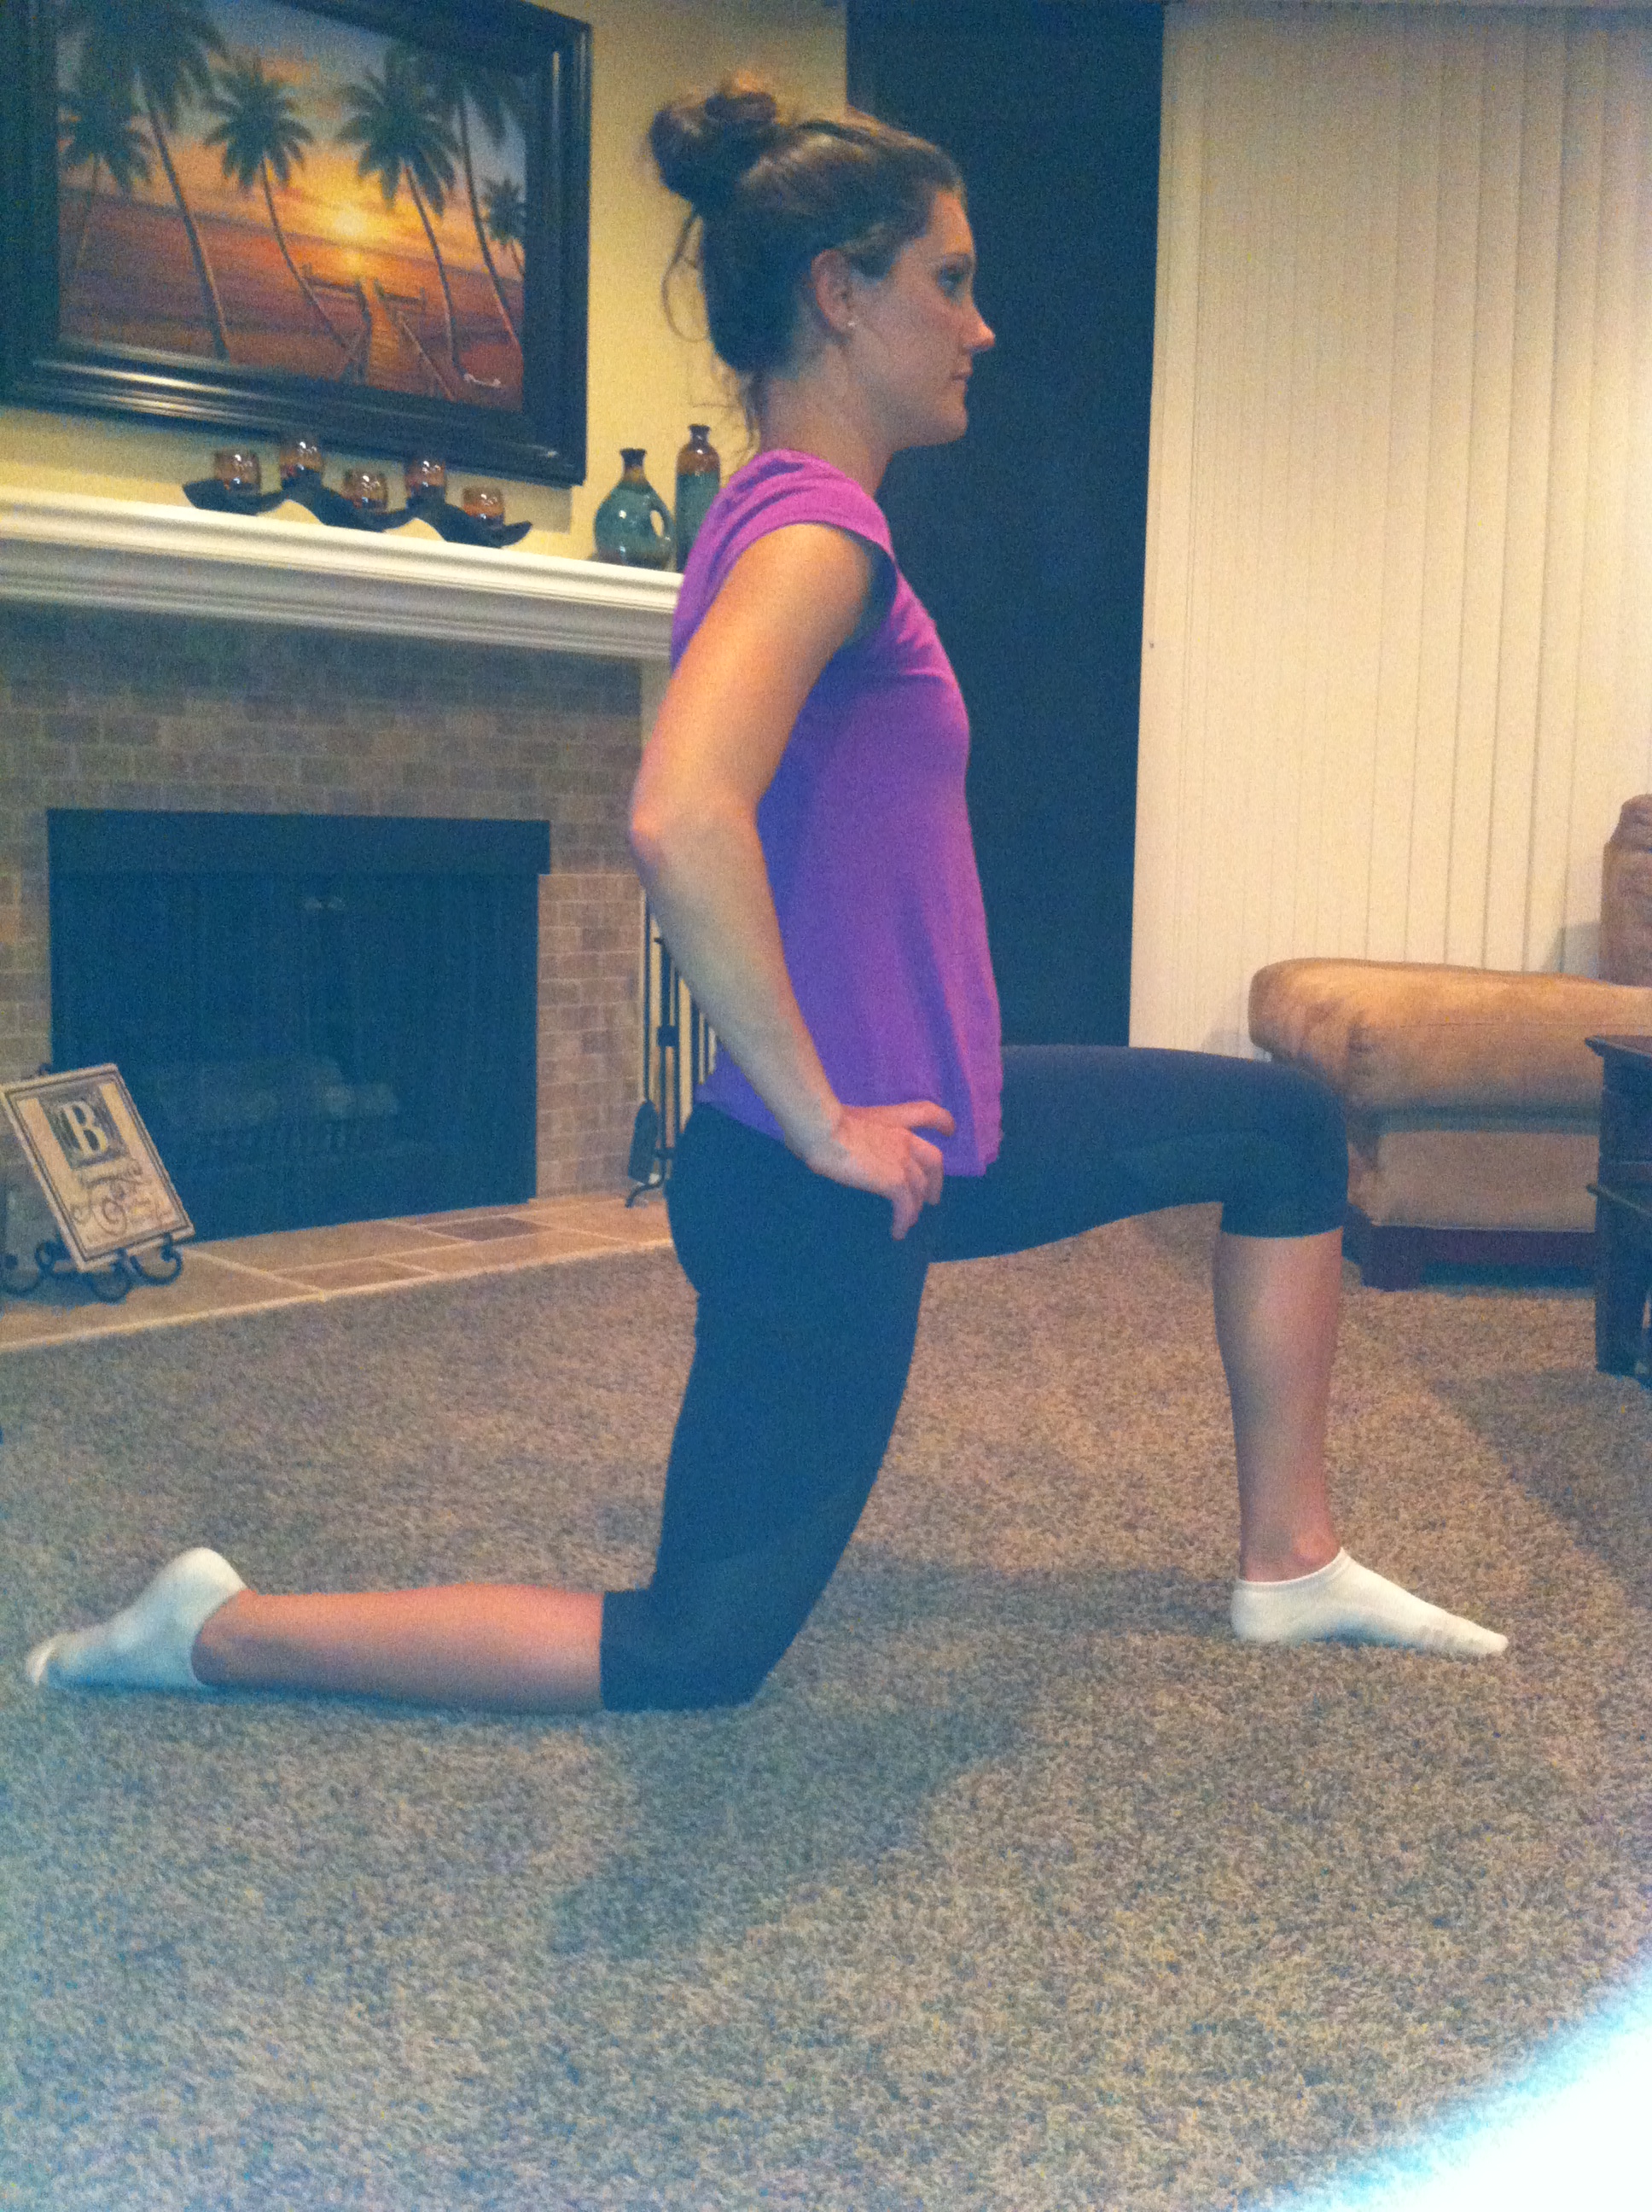
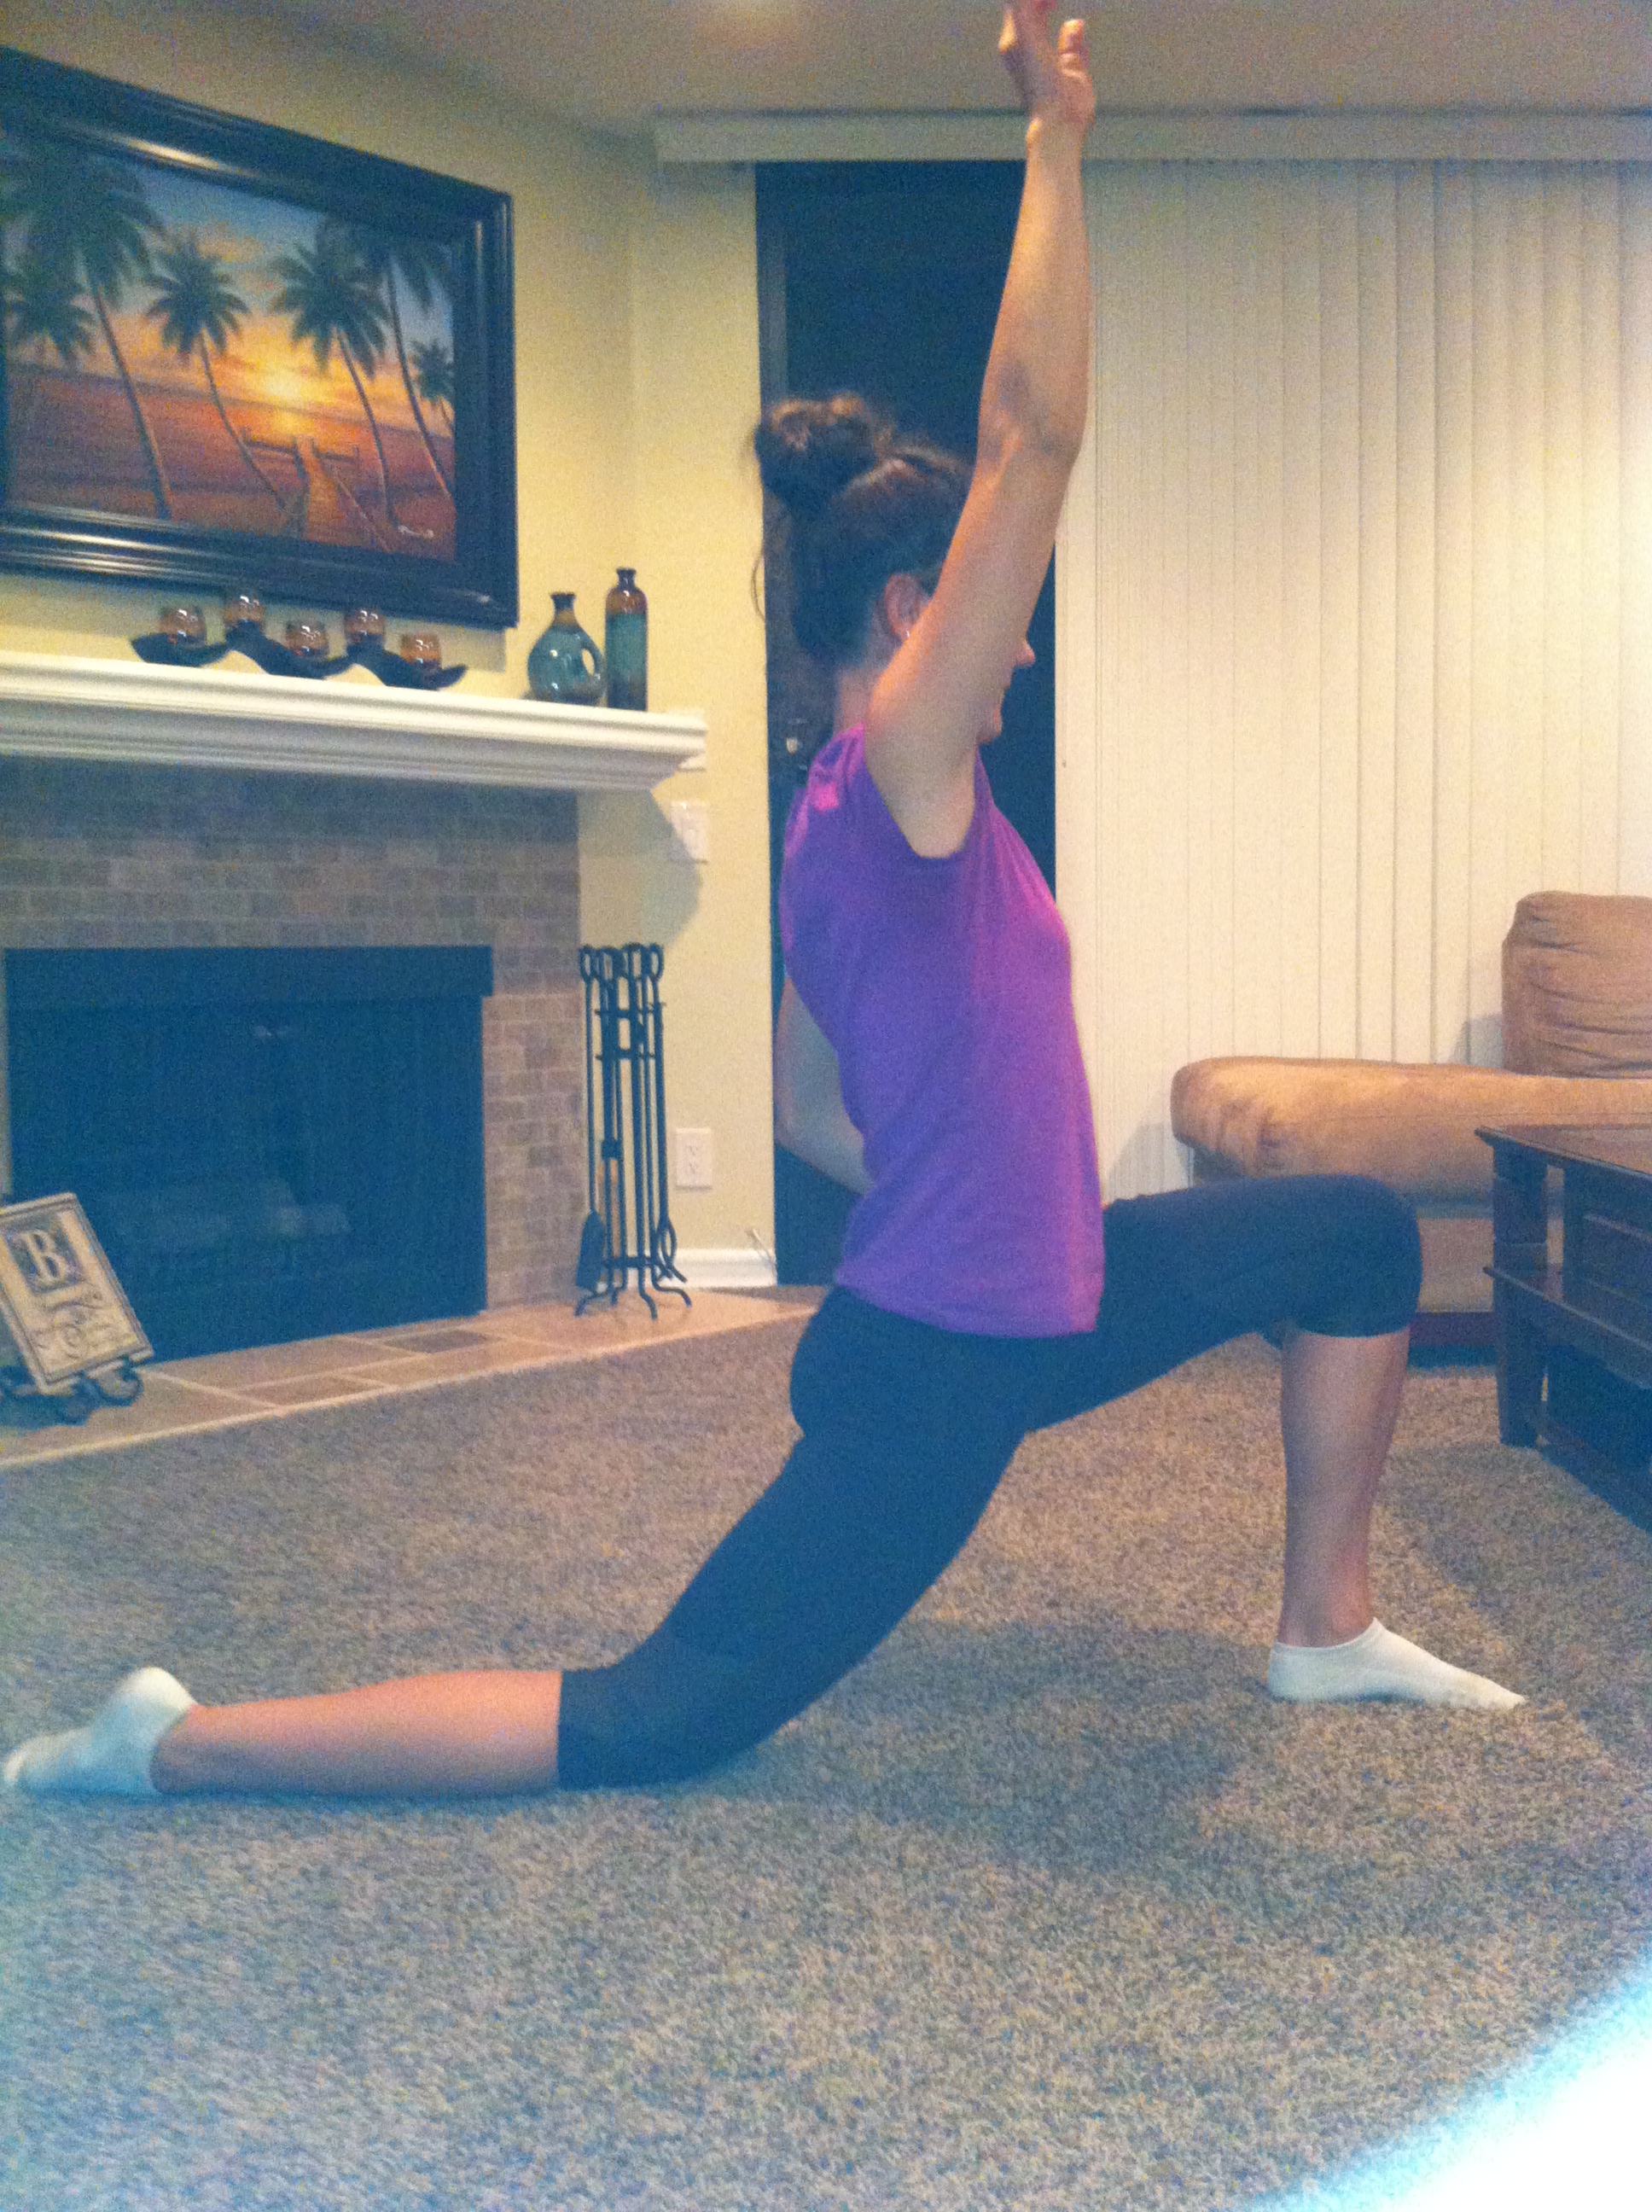
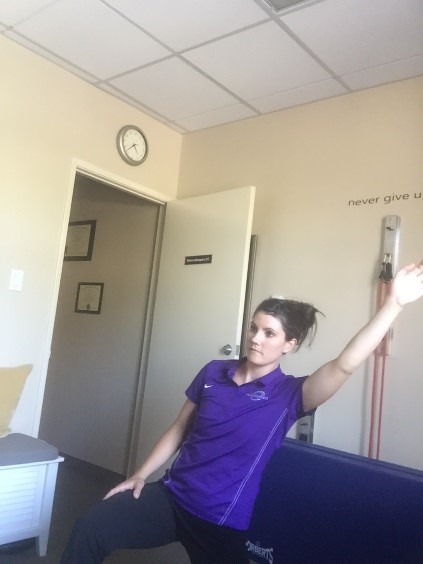
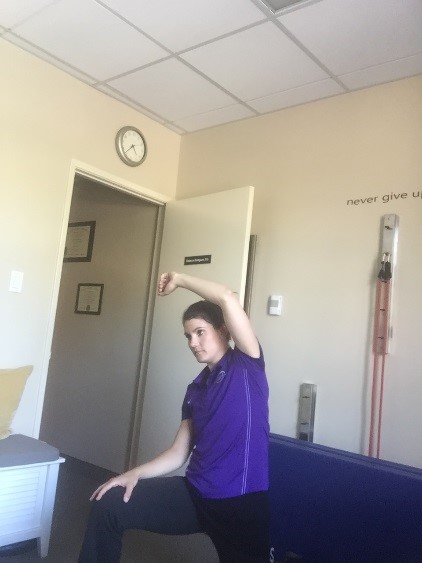
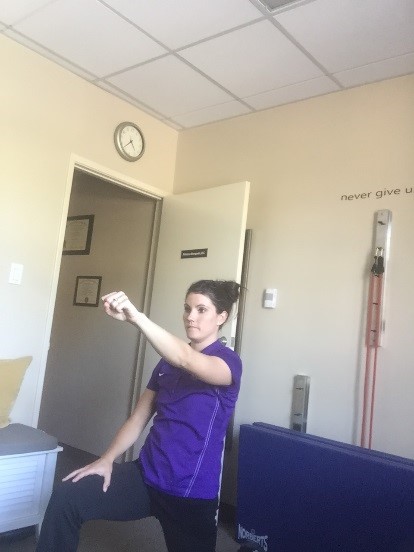
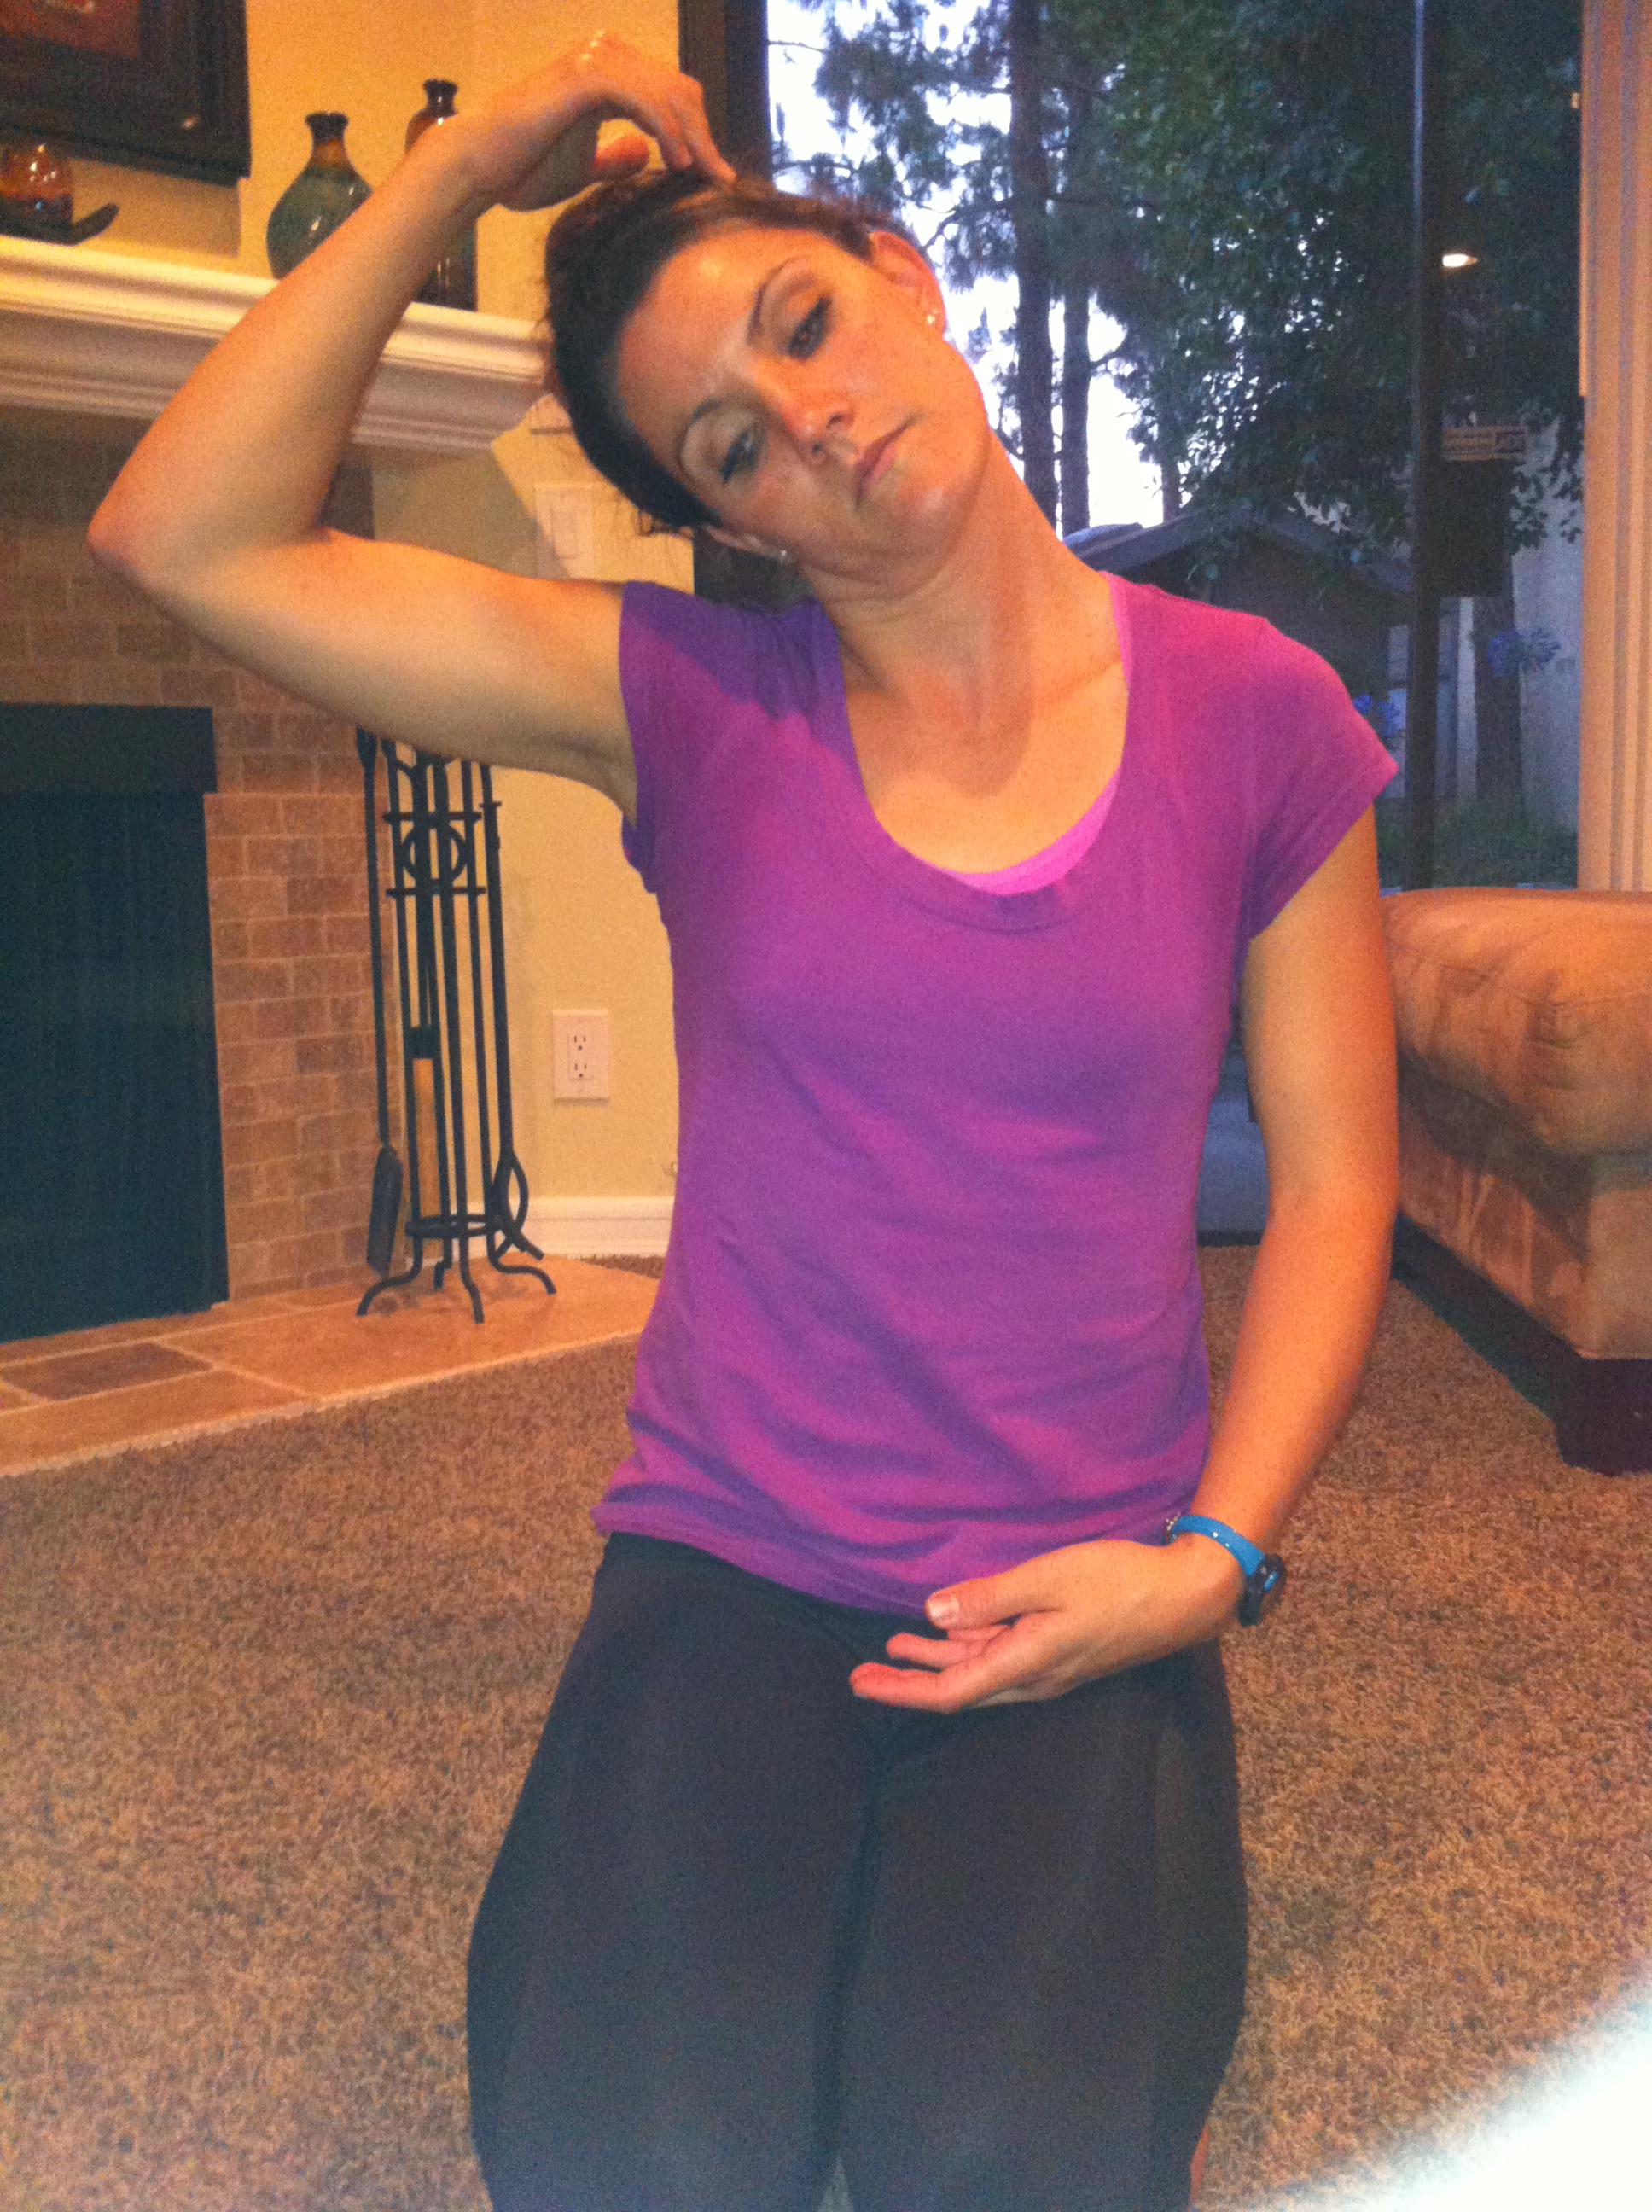
Plank is a great example of bracing the core. Tightening the muscles surrounding the spine while the spine is in neutral can be done even while sitting. It is important to train yourself to breathe with the diaphragm while bracing, ideally all throughout the day.
In conclusion, we should not be saying “suck in” or “push out.” Tightening the core gives greater protection to the spine than trying to activate specific muscles individually. Therefore, the plank exercise, especially in a progression form is one of the best core exercises for improving function, posture and stability. Core strength also prevents injury to the spine and improves sport performance.
Dr. Rebecca Bomgaars D.C. CSCS
Sources:
Maeo S, Takahashi T. Trunk muscle activities during abdominal bracing: comparison among muscles and exercises. J Sports Sci Med. 2013 Sep 1; 12(3): 467-74.
MgGill S. Ultimate Back Fitness and Performance. 2004; 5, 168-172.